At the loading point
- Collect and attach your assigned rig, then follow the loading route. Freight also has a Route to pickup button named for your loading site.
- Drive into the yellow checkpoint and stop. Stay in the driver seat with the assigned trailer attached.
- Service starts automatically when the assigned rig is correctly stopped. Remain still while the progress circle runs. Hazard lights come on during service; wait until loading finishes and the route changes.
On the road
After loading, follow the route to the unloading site. Close the tablet and press K in the truck to open the vehicle panel; press K again to cycle to Freight. This tab shows your next stop and distance, cargo and weight, and, once loaded, the advertised pay, live cargo condition and any cold-chain or urgent countdown. Use it to keep track of the delivery, and reopen the tablet with F6 when safely stopped to manage the contract. Your final payslip shows the actual payment after bonuses and deductions.
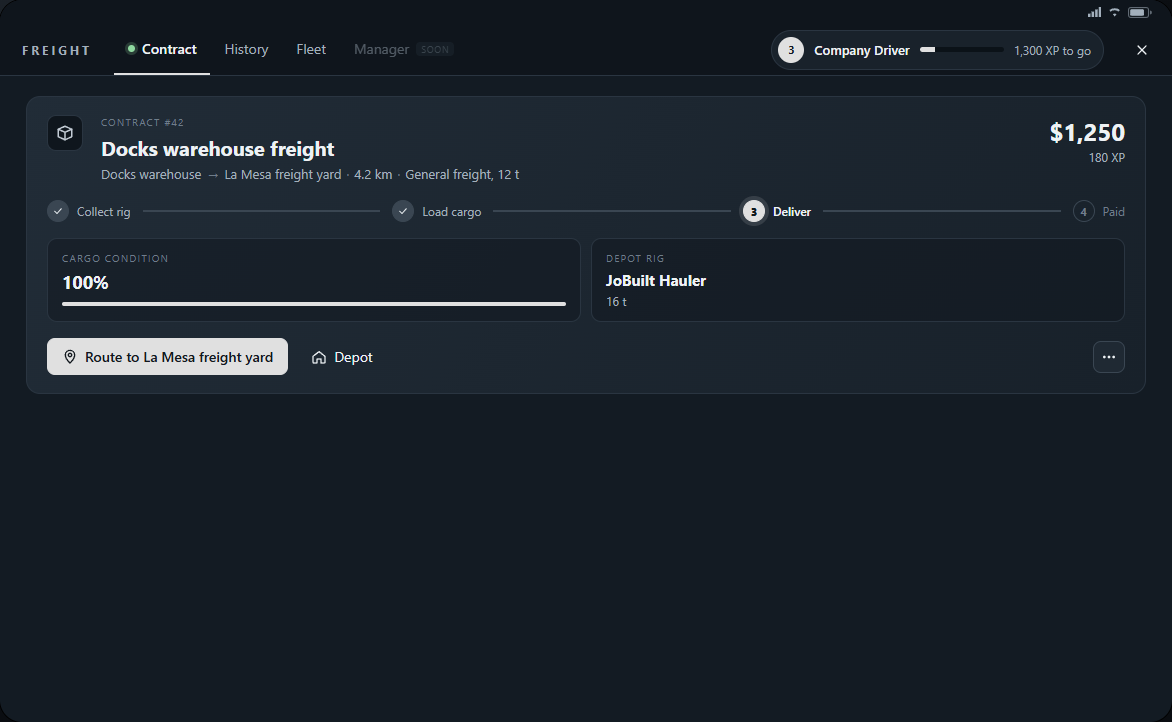
Brake early, leave room for the trailer and avoid hard impacts or sharp swerves. Plan fuel and repairs before a long journey; refrigerated and urgent loads keep counting down while you stop.
At the destination
- Stop in the destination checkpoint with the same truck and trailer attached. Stay in the driver seat; unloading starts automatically when the rig is ready.
- Wait for the service circle and payment confirmation. Delivered means this load is paid; open History to read its payslip.
- Take a nearby backhaul if offered, or return both vehicles to the depot and choose Return rig at depot from the current contract's three-dot menu. This returns a company rig; an owned truck stays with you while its assigned trailer is removed. Clear your work before clocking out.